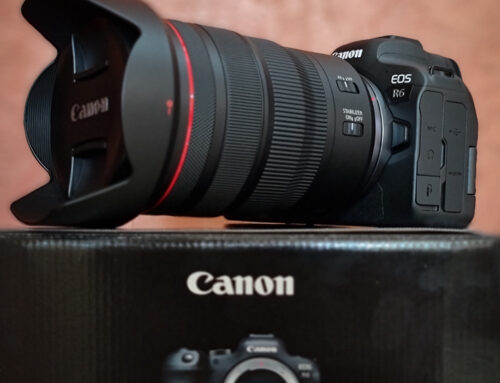
Introduction to the Exposure Trinity: Aperture, Shutter, ISO.
Aperture = How much Amount of Light passes through the opening of the blades arranged circularly in the lens.
The larger the aperture opening, more the light that gets through.
The language of Aperture is spoken in f-stops (e.g. f/1.8 or f/2.8 — the length of the focal lens divided by the diameter) but like all things photographic, this refers to stops of light. The smaller the f number, the larger the aperture.
Apertures can be remembered with a simple concept—the numbers 1 and 1.4 doubling alternately. So 1, 1.4, 2, 2.8, 4, 5.6, 8, 11, 16, 22, 32 with each one being an increase by 1 stop. Therefore f/1.4 is one stop higher than f/1, f/8 is three stops higher than f/2.8.
Larger apertures (bigger openings/smaller f numbers) are preferable in low light to allow more of the light in. And larger the aperture shallower will be the depth of field.
Every lens has a maximum open aperture and an aperture range. In some lenses, the aperture closes down when zoomed in.
For example, the standard zoom lens 18-55mm f3.5-5.6. The max open aperture at 18mm is f3.5 and when the lens is zoomed out to 55mm the aperture closes down to f5.6.
The aperture is also known for its more important feature…the one that controls the Depth of Field (DOF). Simply put, it means how much is in focus in the plane of field.
Note that how much is in focus depends on the f number set in your lens and the focal length of your lens. An f number can work differently at various focal lengths.
F5.6 at 18mm can bring more things in focus compared to the same f5.6 at 55mm.
Shutter Speed = The Length of Time the Shutter allows the Amount of Light passing through the aperture to expose the sensor.
When the shutter release button is pressed down, the mirror moves away and the shutter opens for a pre-calculated period of time (either set by you or the camera’s auto settings).
A shutter speed of, say, 1/100 of a second is open for twice as long as 1/200 second, letting in light for twice as long.
Shutter speeds are discussed fractions of seconds and seconds and can also be compared in stops of light with doubling of duration, meaning an increase of 1 stop.
1/100 second is 1 stop of light brighter than 1/200 second. Three seconds is 1 stop less than 5 seconds.
Therefore, along with the aperture setting, shutter speed is controlling the light reaching the sensor.
ISO = Sensor’s Sensitivity to light.
ISO (International Standards Organization) is an older concept from the days of film. It refers to sensitivity to light and, brilliantly, it works on the basis of, again, stops of light.
The higher the ISO, the sensor is more sensitive to light and the brighter the final image. ISO can therefore be used to affect shutter and aperture combinations.
If you find the shutter speed is too slow for the fast action you’re shooting and you cannot achieve a wider aperture and allow more light and eventually shoot faster nor do you want to compromise the depth of field by opting for a different aperture, you can then select a higher ISO, making the sensor more sensitive—meaning you can speed up the shutter speed.
Standard ISO is measured as 100, 200, 400, 800…. and these doubling numbers represent 1 stop of light each time it doubles. 100 ISO is 1 stop of light darker than 200 ISO, etc.
In summary, once you understand the relationship between shutter speed and aperture, and then how you can utilize ISO to fine tune your exposure settings, you are safe to use a DSLR in it’s manual mode and do not have to rely on the manufacturer’s auto/scene modes (fancy modes for unlearned photographers). These auto/scene modes make assumptions which might not be what you’re looking for.
Now that you understood the essential elements of the exposure trinity and their influence as you manage exposure, what impacts your photography is not the mere understanding of these but the lack of their application and the creative control they offer.
Ponder on why the same location looks different when shot with the same aperture value but at different focal lengths. Also understand the influence of focal length of the lens on the perspectives and distortions. A shot taken using the wide angle lens can have background at the exact same distance away from your subject as in situ and preferably not blurred too.
Whereas the same shot taken using the telephoto zoom could pull the background closer than in situ causing a change in perspective and while doing the background blurs away.
In both the images, the same aperture value provides variable depth of field depending on the focal length.
With Shutter speed you not only increase or decrease exposure but can shoot your moving subject sharp and still achieve creative blur in some parts of the moving subject. A fast shutter speed can freeze a moving subject on a bike and yet will get the spokes of the bike blurred and the background totally streaked out while panning.
In manual mode, you can sleeve off a stop of light by decreasing the ISO one stop while you maintain the same shutter speed. In Aperture priority mode, one can get a faster shutter speed by increasing the ISO by a stop. In Shutter priority mode, the camera might not allow the shot as it is unable to set an aperture; as it is already at its max open, by increasing the ISO you can still go ahead and shoot.
We can bring ISO influenced grains (noise) in-camera to get creative effects rather than add it in post (and save some time spent behind the computer).
It might be exposure today and some other concept tomorrow…don’t stop with just understanding the concept but learn and practice their real world creative applications..


Great insight, able to relate so well after attending class
Thank you Hari!!
Very well explained the above given terminologies in depth with calculative method of examples.
This blog reflects your passion toward photography and your dedication,restless efforts to make a learner to understand the concept effectively
Wish to see many more blogs
Thanks Shwetha.
Thank you sir for such a wonderful blog,,always inspiring with your detailed explanation in simplicity
Looking forward to see such blogs